How to Replace Rubber Tracks on Mini-Excavators: Complete Guide in 6 Steps
Replacing rubber tracks is one of the most frequent maintenance operations for those operating mini-excavators. A procedure that, when performed correctly and safely, can be completed in a short time and guarantee optimal machine performance. This complete guide will accompany you step by step through the entire process, providing practical advice and essential safety measures.
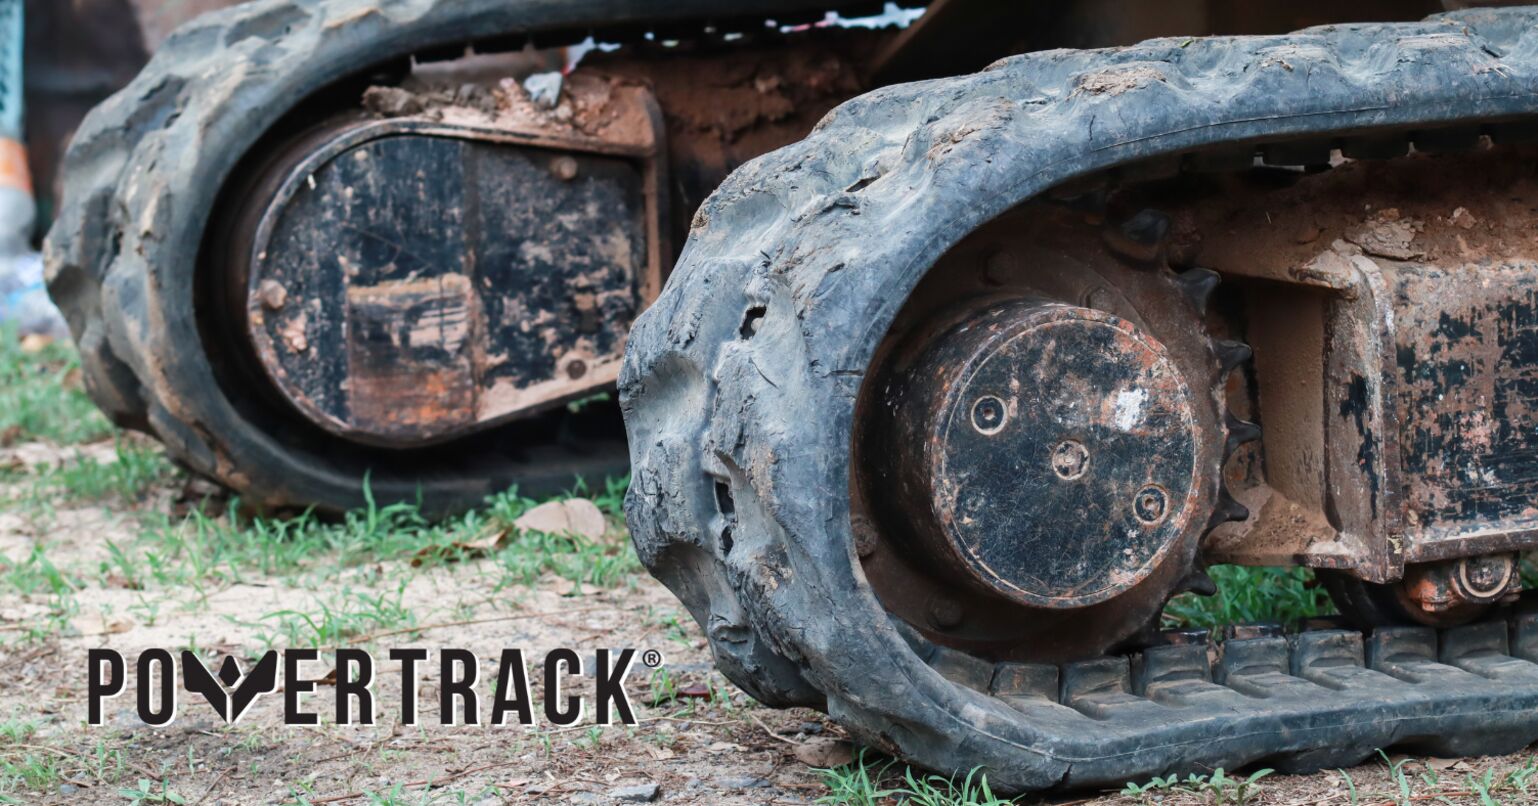
When to Replace Rubber Tracks
Rubber tracks require replacement when they show:
- Excessive tread wear that compromises grip
- Cracks or cuts in the rubber structure
- Loss of elasticity or permanent deformations
- Damage to the inner guide or traction teeth
Timely replacement prevents damage to the undercarriage and guarantees operational safety. It is highly recommended to always replace tracks in pairs to maintain machine balance and stability and avoid premature and uneven wear between the tracks themselves.
Necessary Tools and Protective Equipment
Before starting the replacement, get everything you need:
Essential tools:
- Pry bar to facilitate assembly and disassembly operations
- Socket wrench to loosen the track tensioning mechanism
- Grease pump for tension adjustment
- Jack stands or wooden blocks for stabilization
Personal Protective Equipment (PPE):
- Safety glasses to protect eyes from debris
- Resistant safety gloves
- Safety shoes with reinforced toe
Machine Preparation and Safety Measures
Phase 1: Positioning and Lifting
Position the mini-excavator:
- 1. Rest the bucket and front blade of the excavator on the ground
- 2. Lower both elements simultaneously to lift the entire machine about 20 cm from the ground
- 3. Use jack stands or wooden blocks to further stabilize the machine
We recommend not working alone. The presence of a second operator guarantees greater safety and speeds up operations
Phase 2: Loosening the Track Tensioning Mechanism
The tension system is crucial for correct removal:
- 1. Locate the grease valve positioned in the frame behind the protective cover
- 2. Gradually loosen by opening the valve to let the grease escape
- 3. Apply pressure to the track using a lever to help retract the idler wheel
- 4. Verify that the track is completely loose before proceeding
Phase 3: Physical Removal of the Track
Once the tension is loosened:
- 1. Remove the track from the carriage
- 2. Use the pry bar leveraging on the idler wheel if necessary
- 3. Proceed with general cleaning of the undercarriage
- 4. Check the wear condition of idler wheels, drive wheels and rollers
This inspection phase is fundamental to identify any components to be replaced and prevent future problems.
Installation of the New Track
Phase 4: Mounting the New Track
Assembly requires particular attention to correct orientation:
- 1. Check directionality: Rubber tracks are often directional. Make sure the pattern, which forms a virtual arrow, is facing the front idler wheel to optimize traction and self-cleaning
- 2. Position the track on the drive wheel, idler wheel and around the undercarriage rollers
- 3. Check the alignment of the drive wheel teeth with the track links
- 4. Verify that the track guide is perfectly aligned with the idler wheel
Phase 5: Tension Adjustment
Correct tension is essential for optimal performance:
- 1. Operate the track tensioning mechanism using the grease pump
- 2. Reach the correct tension following manufacturer specifications
- 3. Measure the distance between the contact surface of the center roller and track guide:
- Machines < 2.5t: ~15mm
- Machines 2.5t-5.5t: ~25mm
- Machines > 5.5t: ~35mm
Phase 6: Function Test
Before putting the machine back into service:
- 1. Advance the track to verify that rotation is smooth
- 2. Check for absence of jerking or abnormal vibrations
- 3. Test the machine at low speed to verify stability
- 4. Recheck tension after the first 30 hours of operation:
We recommend checking tension every 50 hours of work throughout the track's useful life.
Visual inspection: Check daily the condition of tracks and undercarriage to promptly identify signs of excessive wear or damage.
Thorough cleaning: Always remove debris, mud and chemicals (oils, fuels, solvents) that can prematurely deteriorate rubber.
Common Mistakes to Avoid
During removal:
- Never force the track if tension is not at minimum
- Avoid using inadequate tools that can damage components
During installation:
- Don't neglect correct track orientation
- Avoid over-tensioning that can cause premature wear
In maintenance:
- Don't postpone periodic tension checks
- Don't underestimate the importance of regular cleaning
Choosing the Right Track: Quality and Compatibility
PowerTrack rubber tracks stand out for:
- Continuous Steel Cord technology that eliminates structural weak points in internal cable coils
- Premium materials that guarantee superior resistance
- Easy assembly thanks to optimized design
- 12-month warranty on manufacturing defects
For professionals seeking reliability and lasting performance, PowerTrack represents the ideal choice to keep machines always operational and productive.
Correct track replacement guarantees operational safety, optimal performance and maximization of machine investment. With proper preparation, adequate tools and quality tracks, this operation becomes a simple and effective maintenance routine.
To learn more about identifying the correct size and selecting the most suitable track for your mini-excavator, consult our detailed guide on how to choose the perfect track for your tracked construction vehicle, where you will find all the technical information necessary for an informed purchase.